Day 8 / #100DaysOfWeb3 verify Contract on Etherscan
Today, I will learn how to verify my Smart Contract on Etherscan
Updated
•1 min read
L
I am a software developer from Togo.
I used this tutorial from Web3 University, write by Sumi Mudgil, Engineer at Alchemy for today's learning.
Previous days, I have learned how to deploy and interact with smart contracts. Also, I learn more about the structure of a contract. The next step of my challenge is to verify my source code on Etherscan. It will be then visible and interactable for anyone.
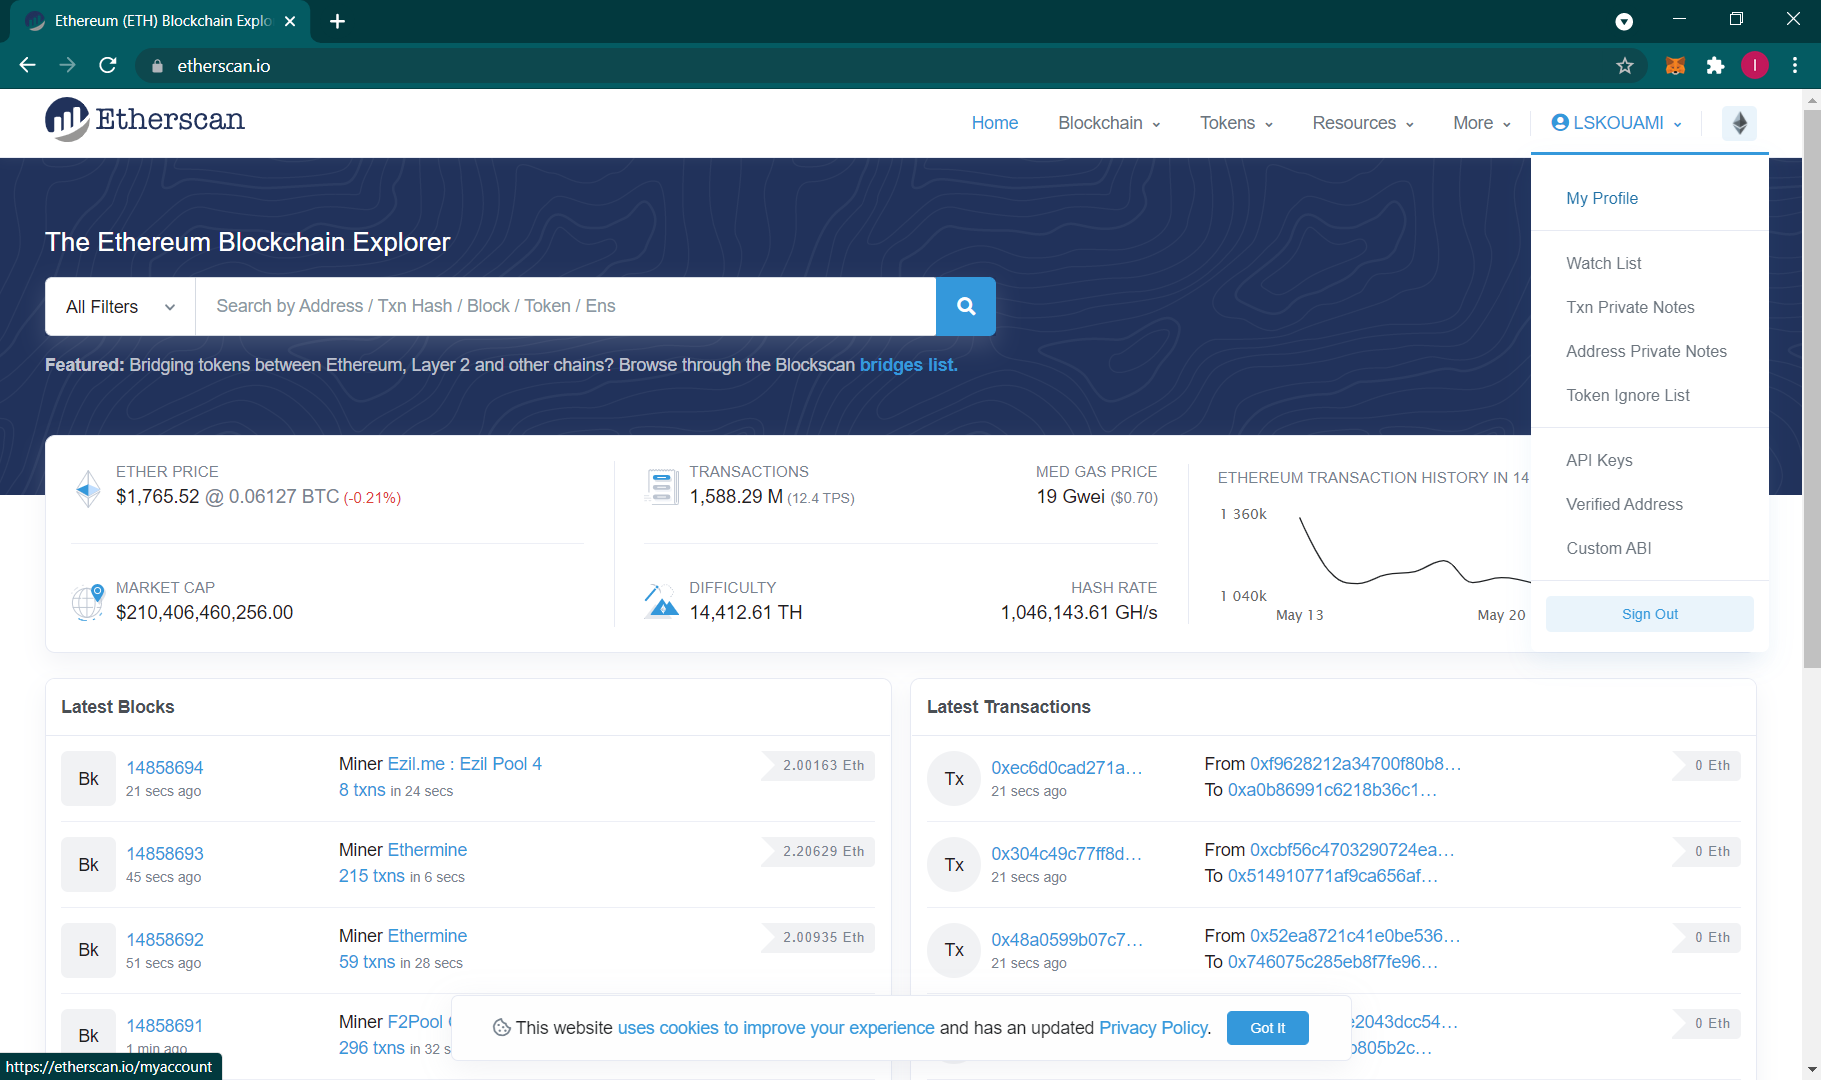
Generate an API Key on my Etherscan account
- I Click on my profile button
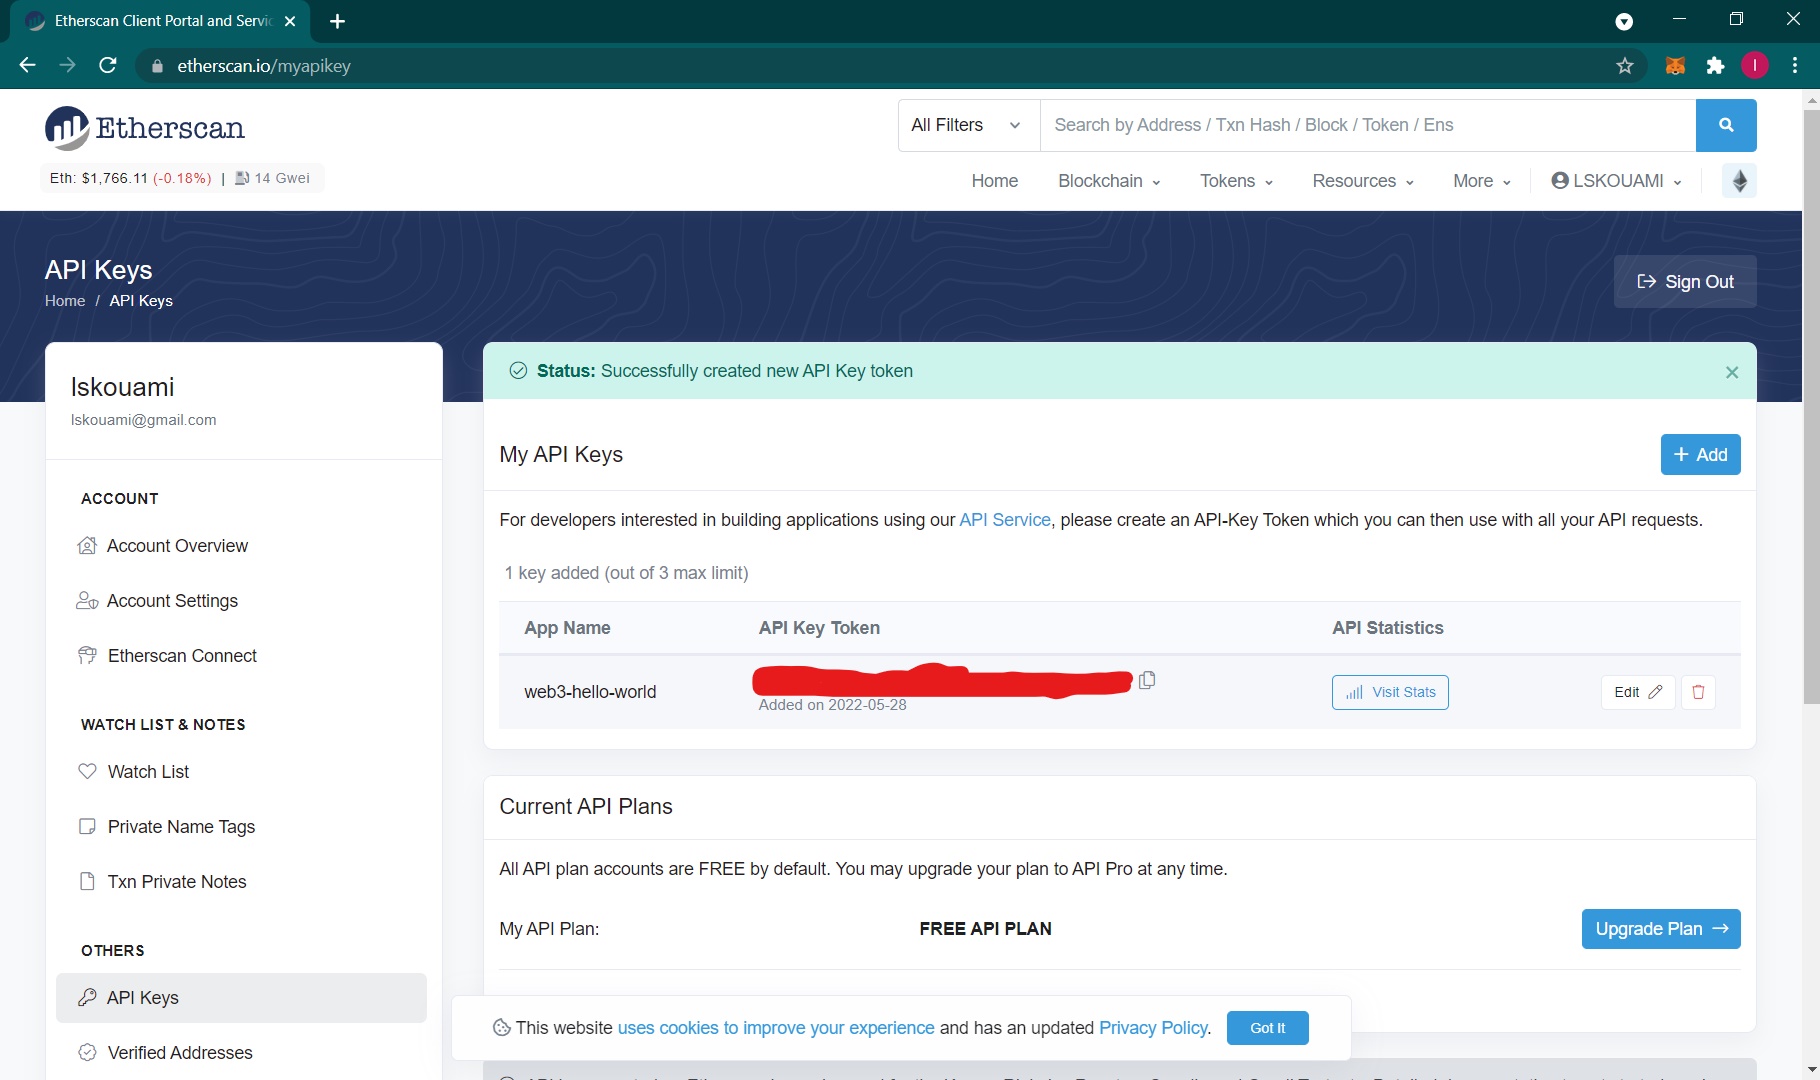
- In "API KEYS" Menu, I clicked on Add
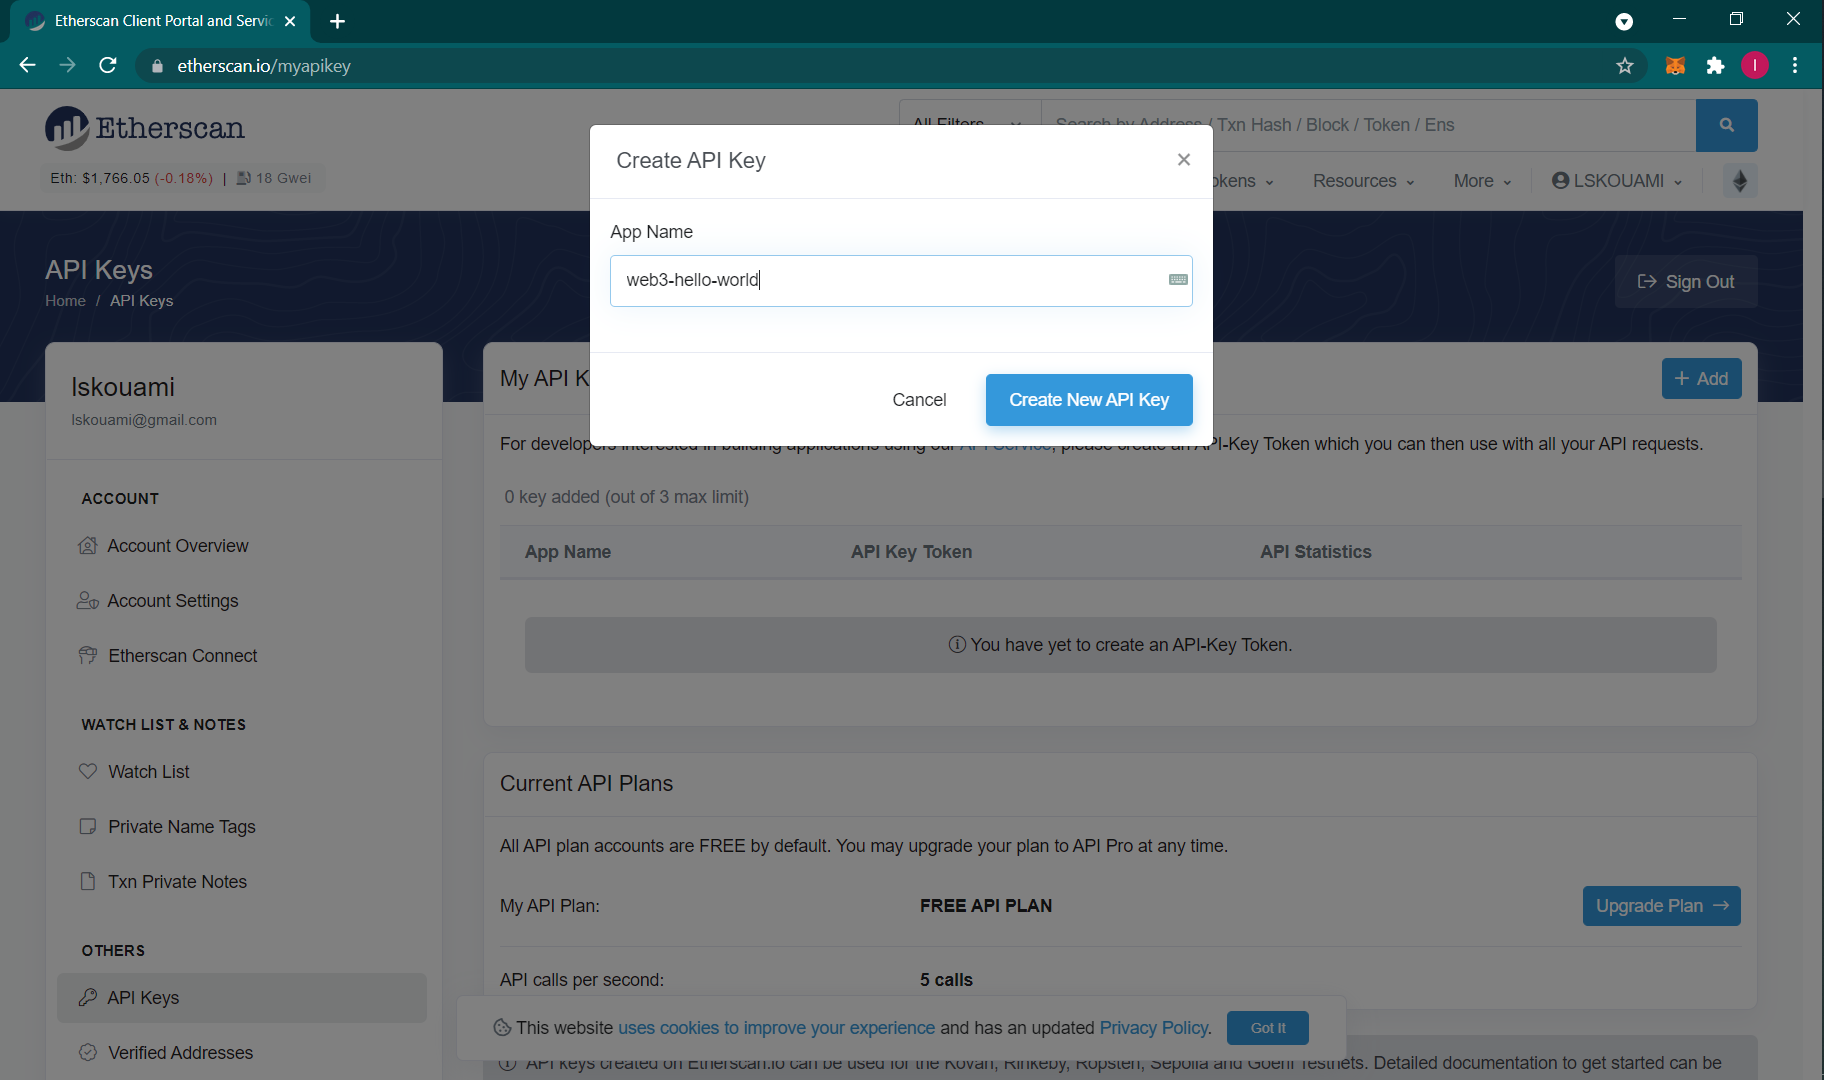
- Then, I have my API KEY
Hardhat-deployed smart contracts
Install the hardhat-etherscan plugin
Following these steps, I install hardhat-etherscan to my project :
//console
npm install --save-dev @nomiclabs/hardhat-etherscan
//hardhat.config.js
require("@nomiclabs/hardhat-etherscan");
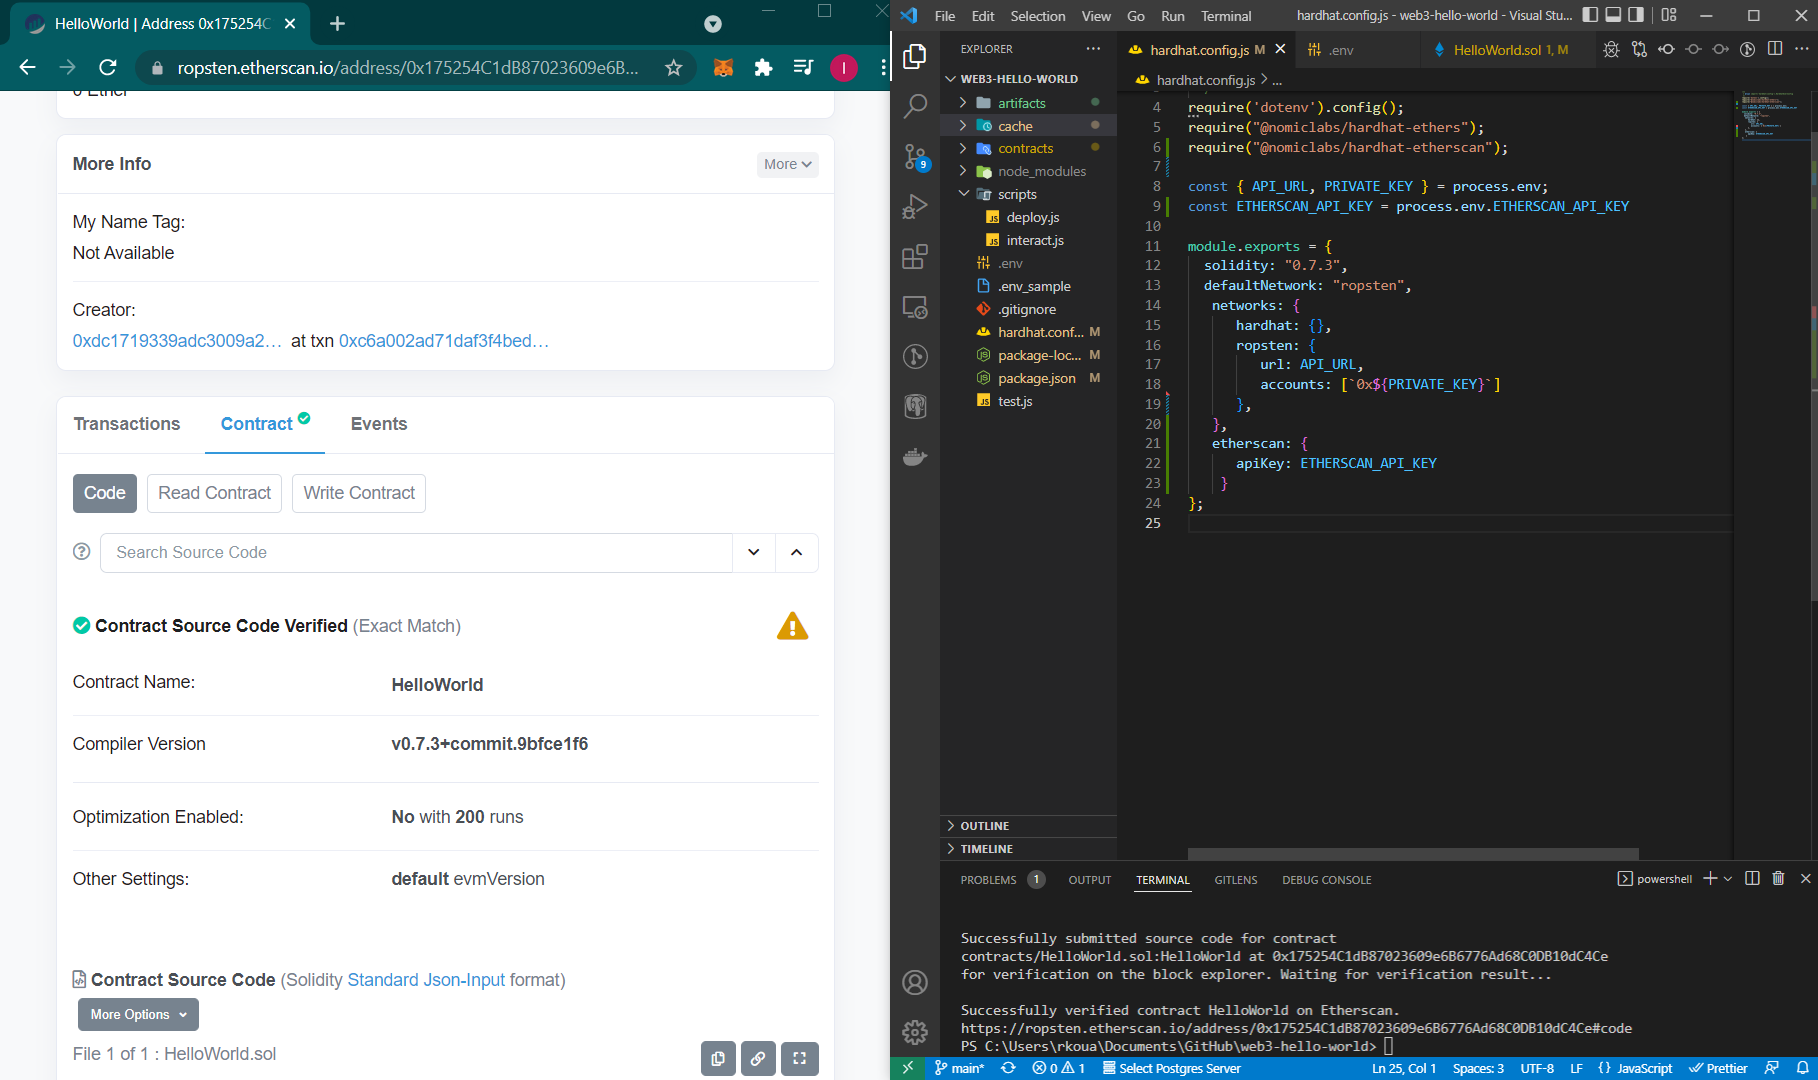
Verify my smart contract on Etherscan
I checked if my CONTRACT_ADDRESS is the address where I deployed smart contract on the Ropsten test network.
I use this command line
npx hardhat verify --network ropsten 0x175254C1dB87023609e6B6776Ad68C0DB10dC4Ce "Hello World!"