Day 6 / 100DaysOfWeb3 how to interact with Smart Contract
Today, I will learn how to interact with Smart Contract
Table of contents
No headings in the article.
A smart contract is the set of rules that govern operations on a blockchain. After deploying my project at the Day 4 of my challenge, I need to learn how to interact with my contract. I will continue with my Day 4 project using this web3 university course
Step 1 :
- Inside /scripts folder, I create Interact.js file with these lines
// interact.js

const API_KEY = process.env.API_KEY;
const PRIVATE_KEY = process.env.PRIVATE_KEY;
const CONTRACT_ADDRESS = process.env.CONTRACT_ADDRESS;
- Update my .env file like this
API_URL = "https://eth-ropsten.alchemyapi.io/v2/"
API_KEY = ""
PRIVATE_KEY = ""
CONTRACT_ADDRESS = "0x"
**Step 2 :
- Contract ABI**
What is ABI ?
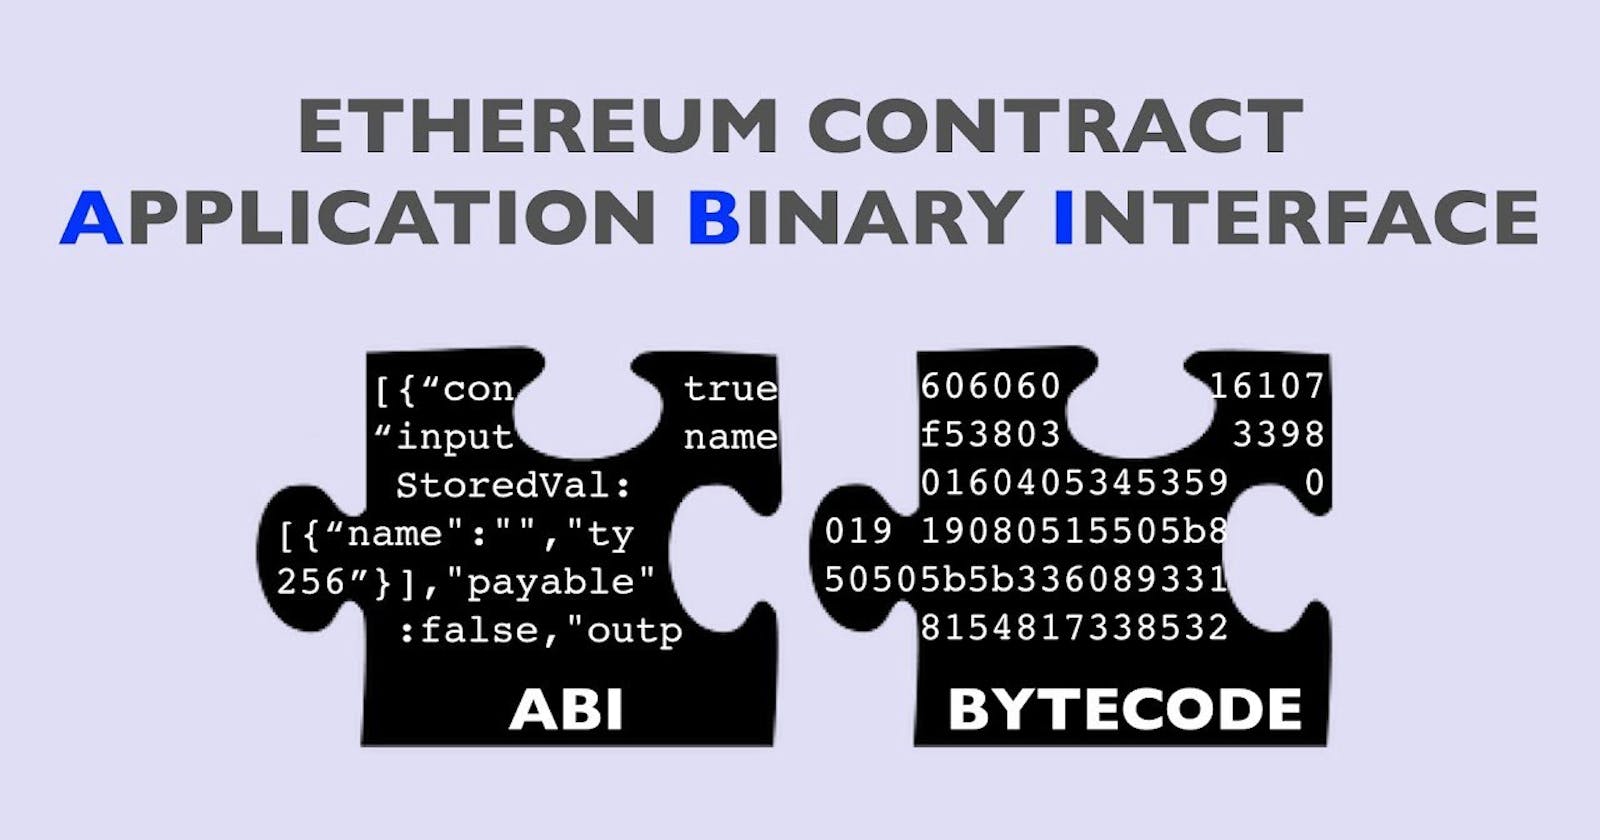
Contract ABI ( Application Binary Interface ) is the interface we use to interact with smart contract. On the Ethereum network, every smart contract is stored like a piece of code executed on the EVM (Ethereum Virtual Machine). Before being deployed, this contract, generally write in Solidity, which is high-level language, need to be compile in a sequence of bytecode. So, to access functions defined in our high level language, we need to translate name and arguments into byte representation for the EVM. Thus, to interpret byte code returned by the EVM when we made a request, we need to convert byte code to our name and arguments. It is in this case we use ABI who documents names and types associated to operations. It does the translations between our human-intended method calls and smart contract operations.
- Setting up in /scripts/interact.js file
// interact.js

// For Hardhat
const contract = require("../artifacts/contracts/HelloWorld.sol/HelloWorld.json");

console.log(JSON.stringify(contract.abi));
- I run it with this command line
npx hardhat run scripts/interact.js
In my project, this is the console log result :
 [
    {
      "inputs": [
        {
          "internalType": "string",
          "name": "initMessage",
          "type": "string"
        }
      ],
      "stateMutability": "nonpayable",
      "type": "constructor"
    },
    {
      "anonymous": false,
      "inputs": [
        {
          "indexed": false,
          "internalType": "string",
          "name": "oldStr",
          "type": "string"
        },
        {
          "indexed": false,
          "internalType": "string",
          "name": "newStr",
          "type": "string"
        }
      ],
      "name": "UpdatedMessages",
      "type": "event"
    },
    {
      "inputs": [],
      "name": "message",
      "outputs": [
        {
          "internalType": "string",
          "name": "",
          "type": "string"
        }
      ],
      "stateMutability": "view",
      "type": "function"
    },
    {
      "inputs": [
        {
          "internalType": "string",
          "name": "newMessage",
          "type": "string"
        }
      ],
      "name": "update",
      "outputs": [],
      "stateMutability": "nonpayable",
      "type": "function"
    }
  ]
**Step 3 Read and Update with smart contract
- I create an instance of my contract**
To do so with Ether.js, I used three concepts :
- Provider : A node that gives me read and write access to the blockchain.
- Signer : Represents an Ethereum account that has the ability to sign transactions.
- Contract : Is an Ether.js object that represents a specific contract deployed on chain.
// interact.js

// Provider
const alchemyProvider = new ethers.providers.AlchemyProvider(network="ropsten", API_KEY);

// Signer
const signer = new ethers.Wallet(PRIVATE_KEY, alchemyProvider);

// Contract
const helloWorldContract = new ethers.Contract(CONTRACT_ADDRESS, contract.abi, signer);
- Read the init message
We read the init message with this async code :
// interact.js

// ...

async function main() {
  const message = await helloWorldContract.message();
  console.log("The message is: " + message);
}
main();
this will print : The message is: Hello world! after running
npx hardhat run scripts/interact.js
- Update the message
We update with this code
interact.js

// ...

async function main() {
  const message = await helloWorldContract.message();
  console.log("The message is: " + message);

  console.log("Updating the message...");
  const tx = await helloWorldContract.update("This is the new message.");
  await tx.wait();
}
main();
- Then read the new message
The final interact.js file should look like this
// interact.js

const API_KEY = process.env.API_KEY;
const PRIVATE_KEY = process.env.PRIVATE_KEY;
const CONTRACT_ADDRESS = process.env.CONTRACT_ADDRESS;

const contract = require("../artifacts/contracts/HelloWorld.sol/HelloWorld.json");

// provider - Alchemy
const alchemyProvider = new ethers.providers.AlchemyProvider(network="ropsten", API_KEY);

// signer - you
const signer = new ethers.Wallet(PRIVATE_KEY, alchemyProvider);

// contract instance
const helloWorldContract = new ethers.Contract(CONTRACT_ADDRESS, contract.abi, signer);

async function main() {
    const message = await helloWorldContract.message();
    console.log("The message is: " + message);

    console.log("Updating the message...");
    const tx = await helloWorldContract.update("this is the new message");
    await tx.wait();

    const newMessage = await helloWorldContract.message();
    console.log("The new message is: " + newMessage);
}

main();
Now we should run this script to see the old message, the updating status and the new message.
npx hardhat run scripts/interact.js --network ropsten
The print result should look like this :
The message is: Hello World!
Updating the message...
The new message is: This is the new message.
Now, I have learned how to deploy and interact with an Ethereum smart contract.

